Creative Nuts Uses Cinema 4D for Strictly Come Dancing Titles Piers Helm of Creative Nuts explains the process of creating the glamorous intro for the BBC's annual primetime show.
Now into its 14th year, Strictly Come Dancing is one of BBC One's most successful primetime Saturday night shows, partnering 15 celebrities with professional dancers over a 14-week competition to find the best ballroom and Latin dancer.
The on-screen graphics need to reflect the glitz and glamour of the show, and each year this is down to Piers Helm of Creative Nuts, creative director and co-owner of a boutique motion graphics studio based in Soho, London that specializes in title sequences, channel branding and promos. Helm won the pitch for the very first show in 2004 and has been creating and developing them ever since, refining the sequence and graphics for each series.
While the overall structure of the intro sequence remains familiar, the technology has changed drastically since its first outing in 2004. "What's interesting about the Strictly titles is that they've spanned many technological improvements," says Helm. "From the original titles filmed in SD on Betacam, using real objects and curtains and a real mirror ball, to the move to a 100% HD workflow. During the early days a few assets were created in Cinema 4D while I was learning the program. Now everything is created in Cinema 4D and After Effects apart from the dancers! Who knows, in ten years' time even those could be done in Cinema 4D, too!"
Because of the short timescale involved – he has just three weeks to put the title sequence together – Helm builds on assets from previous years, refining them with each iteration. "I always try to improve the lighting and textures in the scenes, add new elements and create several entirely new scenes," he says. "Last year, for example, I added the patterns on the floors, this year the curtains open at the beginning, and I've tried to make the edits and transitions between dancers more fluid. For me it's always a work in progress; I'm already thinking about what I can do for next year's sequence."
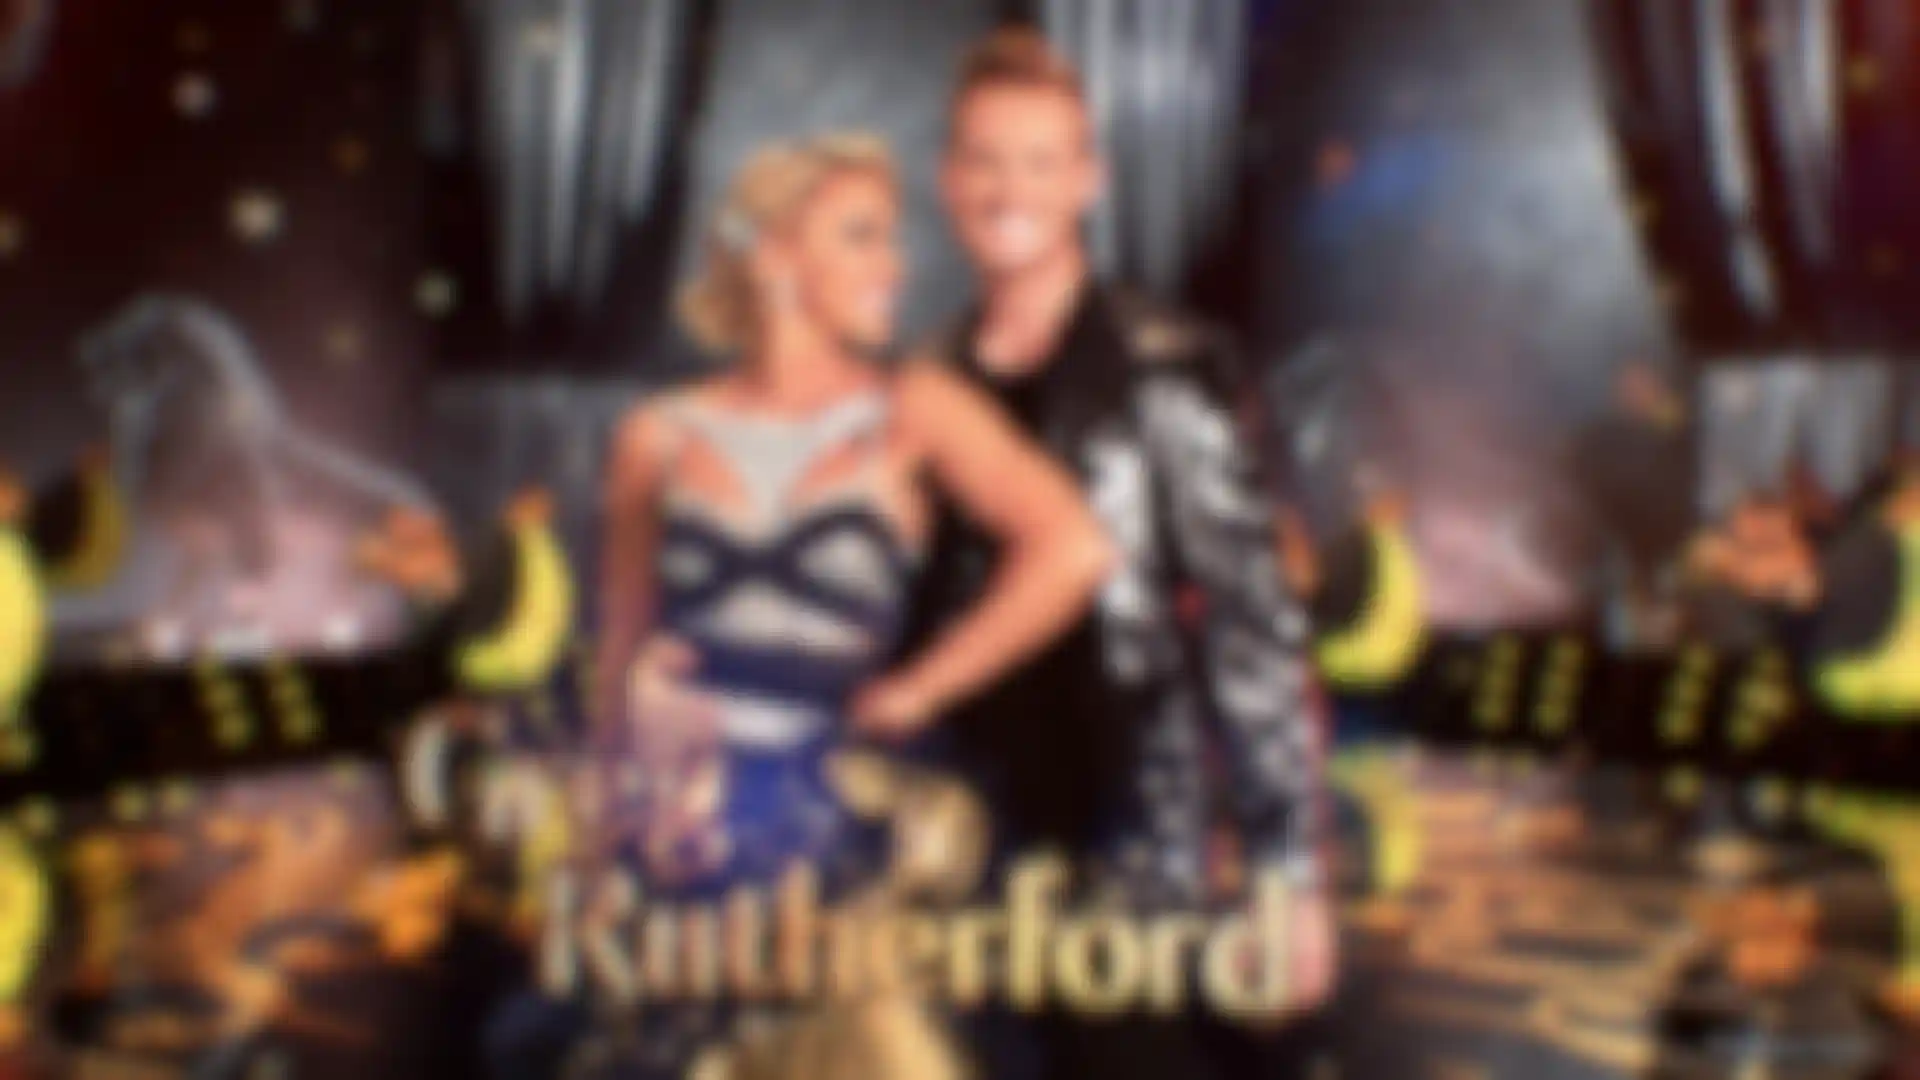
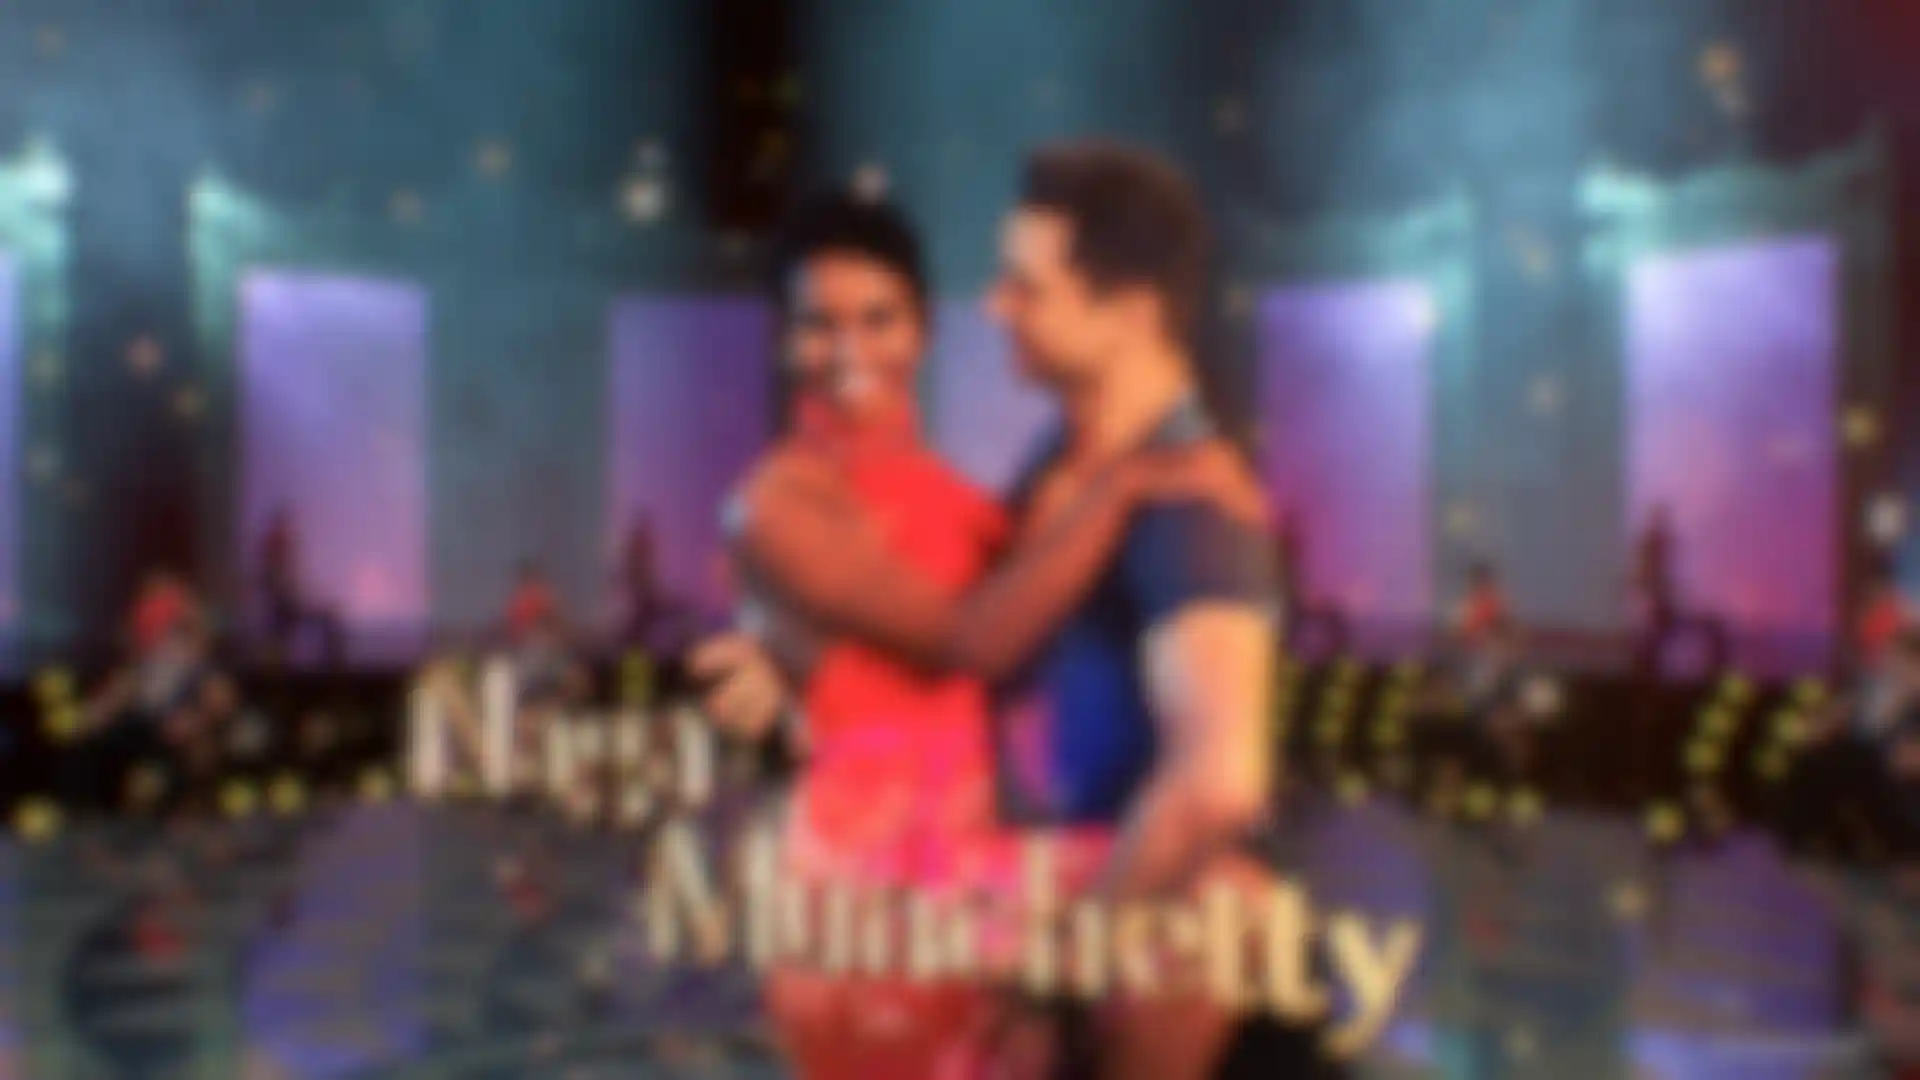
Work begins with a green-screen shoot, that Helm directs, as soon as all the celebrities have been announced. "I film all 15 couples over two days. The time I have with each couple is limited as they are on a tight schedule, fitting in stills photography, filming of idents as well as their dance moves for incorporation into the title sequence. I get about half an hour with each couple but as I haven't met them before, I'm unable to prepare and pretty much have to make it up on-the-fly. Bear in mind that this is the start of the competition, so the celebrities haven't had much dance training and whatever shots I include in the titles have to last the entire series."
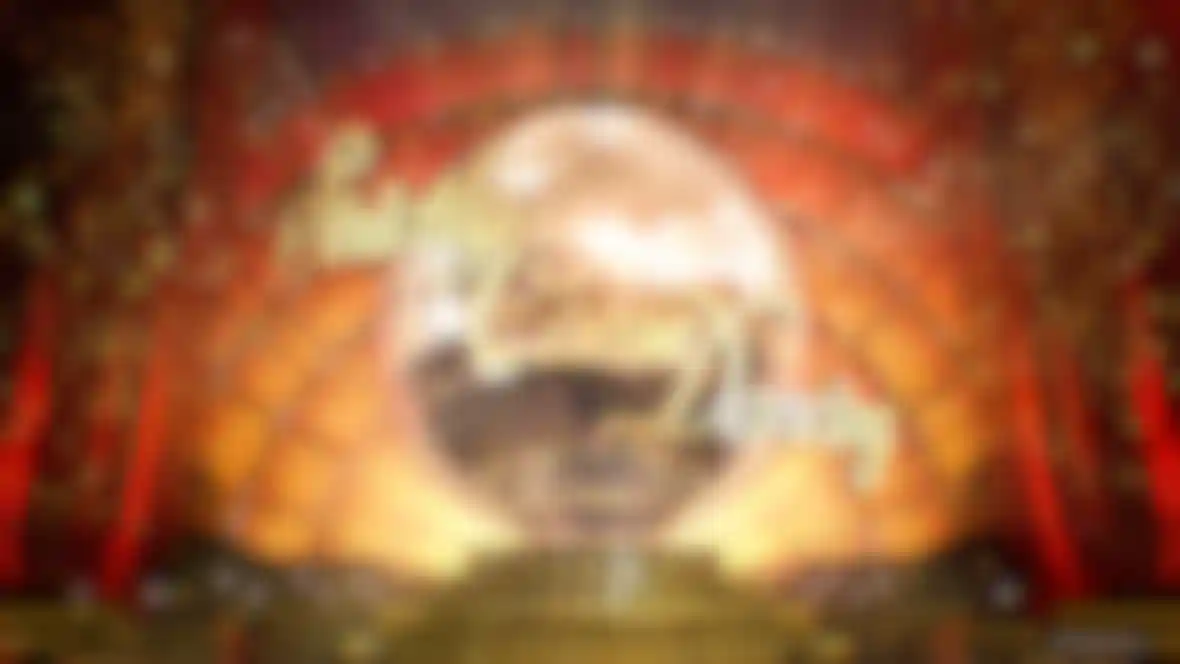
With the footage safely on disc, Helm moves to Cinema 4D. A key element is the signature mirror ball, which is part of the show's logo and acts as the entry and exit points for the intro. "The mirror ball was modeled several years ago using the Cloner object," explains Helm. "It has 6,544 mirrored squares, and like a real glitter ball each square is a transparent glass square with a mirrored plane behind it to give it depth. It took a while to create the image that's reflected in it – every year I try to change or improve it but I always go back to the same one. It's a trade secret what it is!"
As the mirror ball spins it generates a series of light beams, which are created using a volumetric spotlight duplicated with a MoGraph Cloner object and varied using Effectors. The initial ‘Strictly Come Dancing' font required tidying up and thickening in Adobe Illustrator so it could be extruded and deformed in Cinema 4D. Glitter particles are generated using standard Cinema 4D emitters, and then enhanced in Adobe After Effects using Trapcode Particular plus shots of real glitter.
The circular backdrop is festooned with flashing lights, which are actually small spheres duplicated using a MoGraph cloner. "I use the Multi-shader in the Luminance channel and a Random Effector to get them to flash," explains Helm. "When rendering I have a separate object buffer for them and use GenArts' Sapphire Glow and Trapcode Starglow to make them illuminate. I tried using point lights but as there are so many it made the scene too heavy."
As the camera tracks back, a set of red velvet curtains are swept away to reveal a sunburst backdrop – all of which was created in Cinema 4D and inspired by Busby Berkeley musical extravaganzas. "The curtains are either modeled and a few have been purchased from Turbosquid," admits Helm. "The curtains that open at the beginning are animated using Cloth in Cinema 4D."
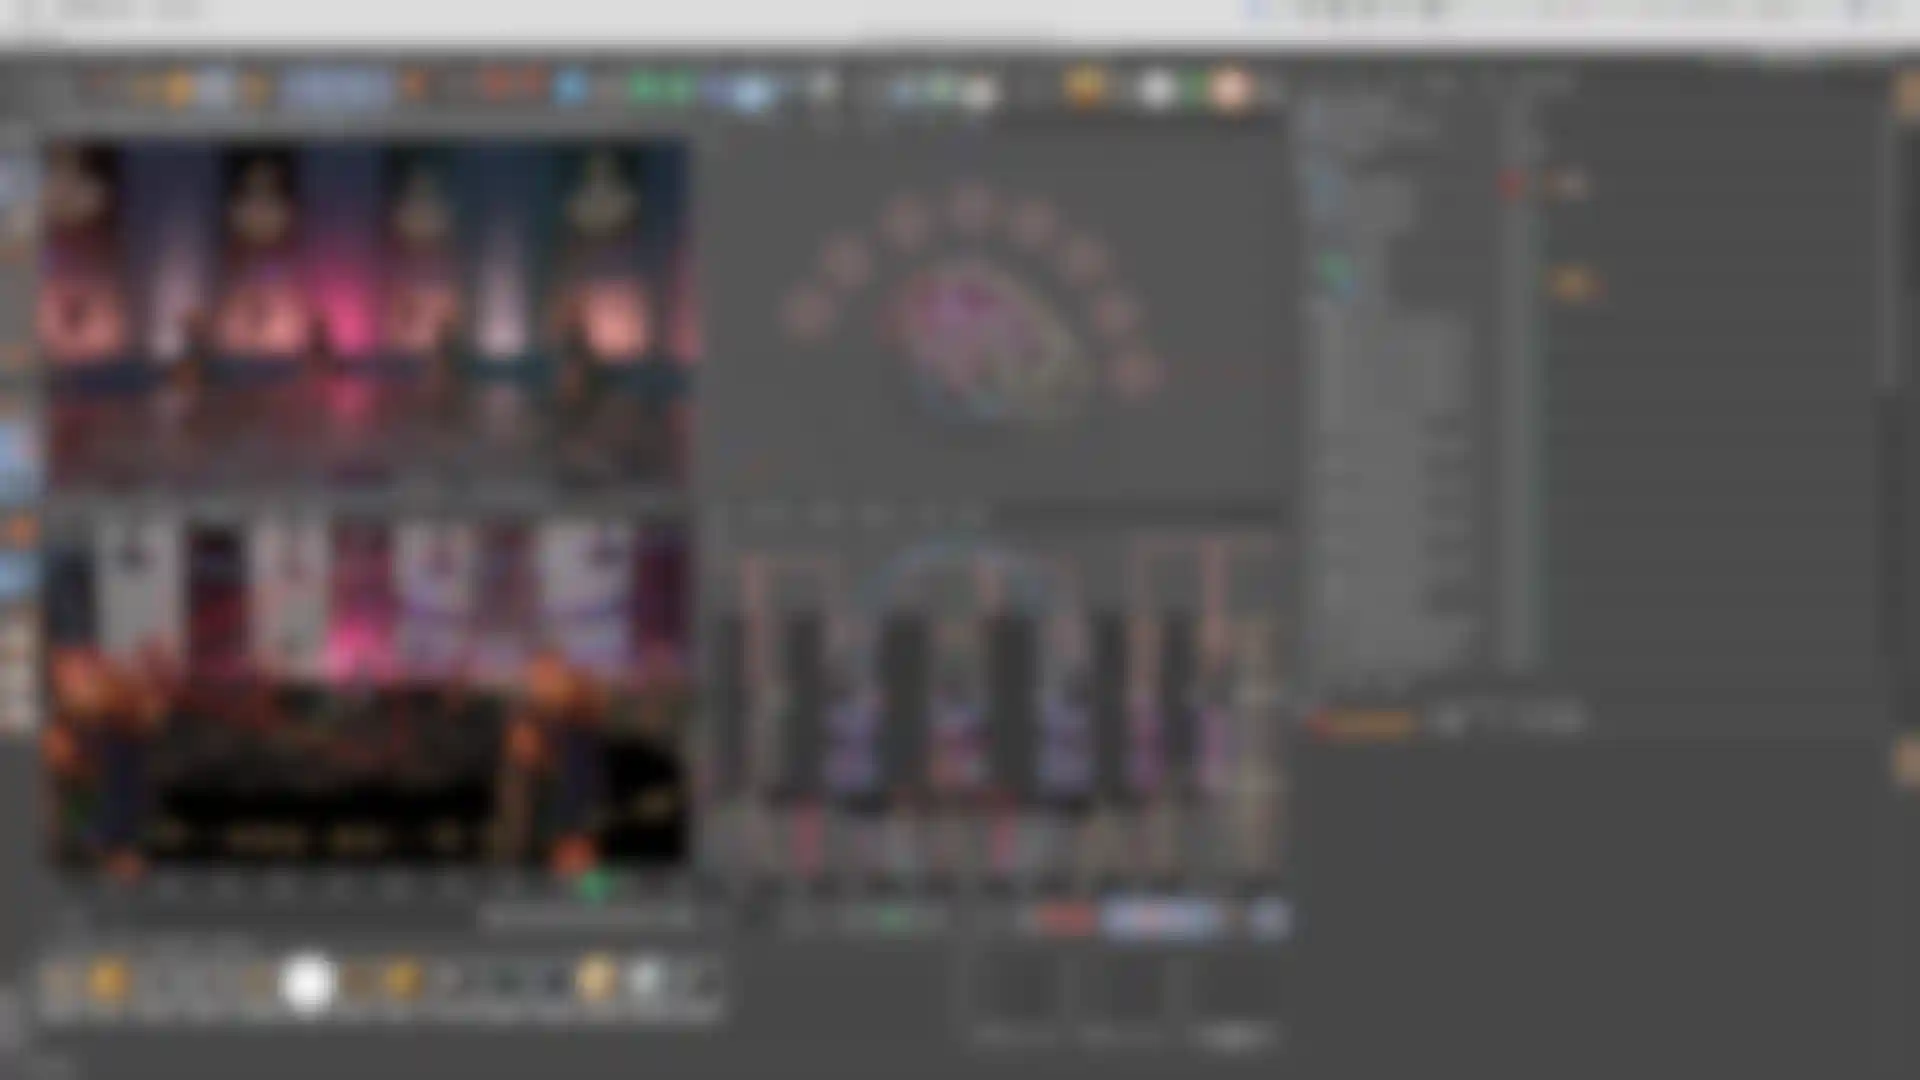
At this point the dancers are revealed one-by-one against a rotating circular backdrop, sometimes with elements specific to or relating to each couple and populated with clips of the dancers performing different moves. "The backing dancers are placed in the scene using image planes duplicated in a MoGraph Cloner object. Once I add the dancers into the backgrounds I can then change the colors of the lights to work with the costumes." Helm reveals that the soft smoke in the background is produced using a series of colored Parallel spotlights pointing upwards and set to Volumetric with noise to make them look smoky. The simpler background elements are hand-modeled, while more complex objects such as statues and buildings are purchased online to save time.
With the lighting setup and animation complete, Helm renders the backgrounds out at a resolution of 3104x1746. This gives him some latitude to add camera moves when combining them with the high-res dancer footage.
Alongside the main credit sequence, Helm produces three ‘stings' with variations for the weekday spin-off, Strictly – It Takes Two on BBC Two as well as intros for all 15 couples and on-screen graphics for the Results show on Sunday evenings. "I need to keep things as simple as possible in After Effects," he remarks. "Separate passes are created for Atmosphere (so I can boost the volumetric light smoke), the small lights so I can make them shine and twinkle, and Depth so I can use Frischluft Lenscare for depth of field."
Helm has access to a small, six-node render farm plus two additional Mac workstations, which can be called into action overnight, and uses Thinkbox Software's Deadline to handle the render queue. The whole sequence is output using Cinema 4D's Standard renderer, with anti-aliasing often set to Geometry in order to keep render times manageable. "There's always a compromise," he adds, "and this year the render times varied from ten minutes a frame for simpler scenes to 40 minutes per frame for the mirror ball."
The job relies heavily on Cinema 4D's MoGraph toolset, with a dash of Insydium's X-Particles. But in terms of the challenge, Helm concedes that it's really a matter of timing: "In the past, the titles have been due for delivery at exactly the same time as the birth of both my sons and a house move! It makes for a very busy time!"
"Having been in the industry for many years, starting on the Quantel Classic Paintbox in 1989, I never imagined that a 3D program would end up being my primary tool," says Helm, who only started using Cinema 4D in 2009. "I love using it as it enables me to create things as simple or as complicated as I want. As a designer first and foremost, I find that Cinema 4D allows me to design things fast without technical issues interrupting the flow."
All images courtesy of Creative Nuts.
Creative Nuts Website:
www.creativenuts.co.uk


