
The Monster Project The Stompin’ Ground on how they brought a kid’s monster drawing to life in CG.
Melbourne, Australia-based The Stompin’ Ground is a creative partnership between 3D artist Dan Rodgers and Ilana Exelby, a painter, traditional illustrator and product designer. When not working their full-time jobs, the duo enjoys taking on projects that offer the creative freedom to experiment and indulge their shared love of fun, stylized characters and 3D illustration.
Among their recent collaborations was the opportunity to create The Destroyer of Worlds, a cute, but destructive, baby monster that they made using Redshift, 3ds Max and ZBrush as part of The Monster Project. Dedicated to helping kids use their imaginations and develop their creative skills, The Monster Project invites elementary school children to draw monsters. Then, artists who work with the project bring those drawings to life by recreating them in their own styles.

Here Rodgers and Exelby talk about their experience with The Monster Project, and how they created The Destroyer of Worlds, using Redshift for everything from initial look development and concepting to the final render.
Tell us about The Monster Project and what you were asked to do.
Exelby: Every year they ask children to draw pictures of monsters for artists to interpret in CG. We chose Sophie’s drawing this year. It’s an amazing concept that featured a blue monster standing on top of the world surrounded by planets and stars. Our job was to transform her drawing into a beautifully rendered still image that will be part of a collection to be published in print and shared across social media to promote the project.
Tell us about your experience working with the project.
Rodgers: We have worked with The Monster Project three times over the past few years. I think we got started after we saw some of the artists we follow on Behance and Instagram post their interpretations of the drawings and, after a bit of digging, we discovered the project. We applied to be a part of their next edition and were lucky enough to be accepted.
The Monster Project is by far the most fun project of the year. The kids’ concepts are always super fun to try and interpret and put our own spin on. We have complete freedom to do whatever we want, which is great compared to the day-to-date constraints of client work. Also, the ethos of The Monster Project is also something we really align with. Creativity doesn’t really get enough attention in schools, and it’s great to show kids a polished version of their art as an encouragement to stick with it.

What was your process?

Exelby: With creative freedom to interpret the monster, and a fluid design process, we settled on a narrative of a baby monster sitting on a planet playing with trains and planes without realizing the destruction he was causing. To add to the playfulness, we experimented with a handmade, Play-Doh style of modeling and shading. Our workflow reflects our individual strengths; mine in design and Dan’s in 3D.
I started with a concept in Photoshop, which provided a framework for the composition and arrangement of objects and elements in the scene. From there, I sculpted the individual objects in ZBrush before handing things over to Dan for further material and character development. He finalized the monster, building a base lighting setup, refining the lighting and applying materials and textures. Once we were happy, we used Photoshop to do finishing touches on the final Redshift render.
Dan, can you explain more about your work?
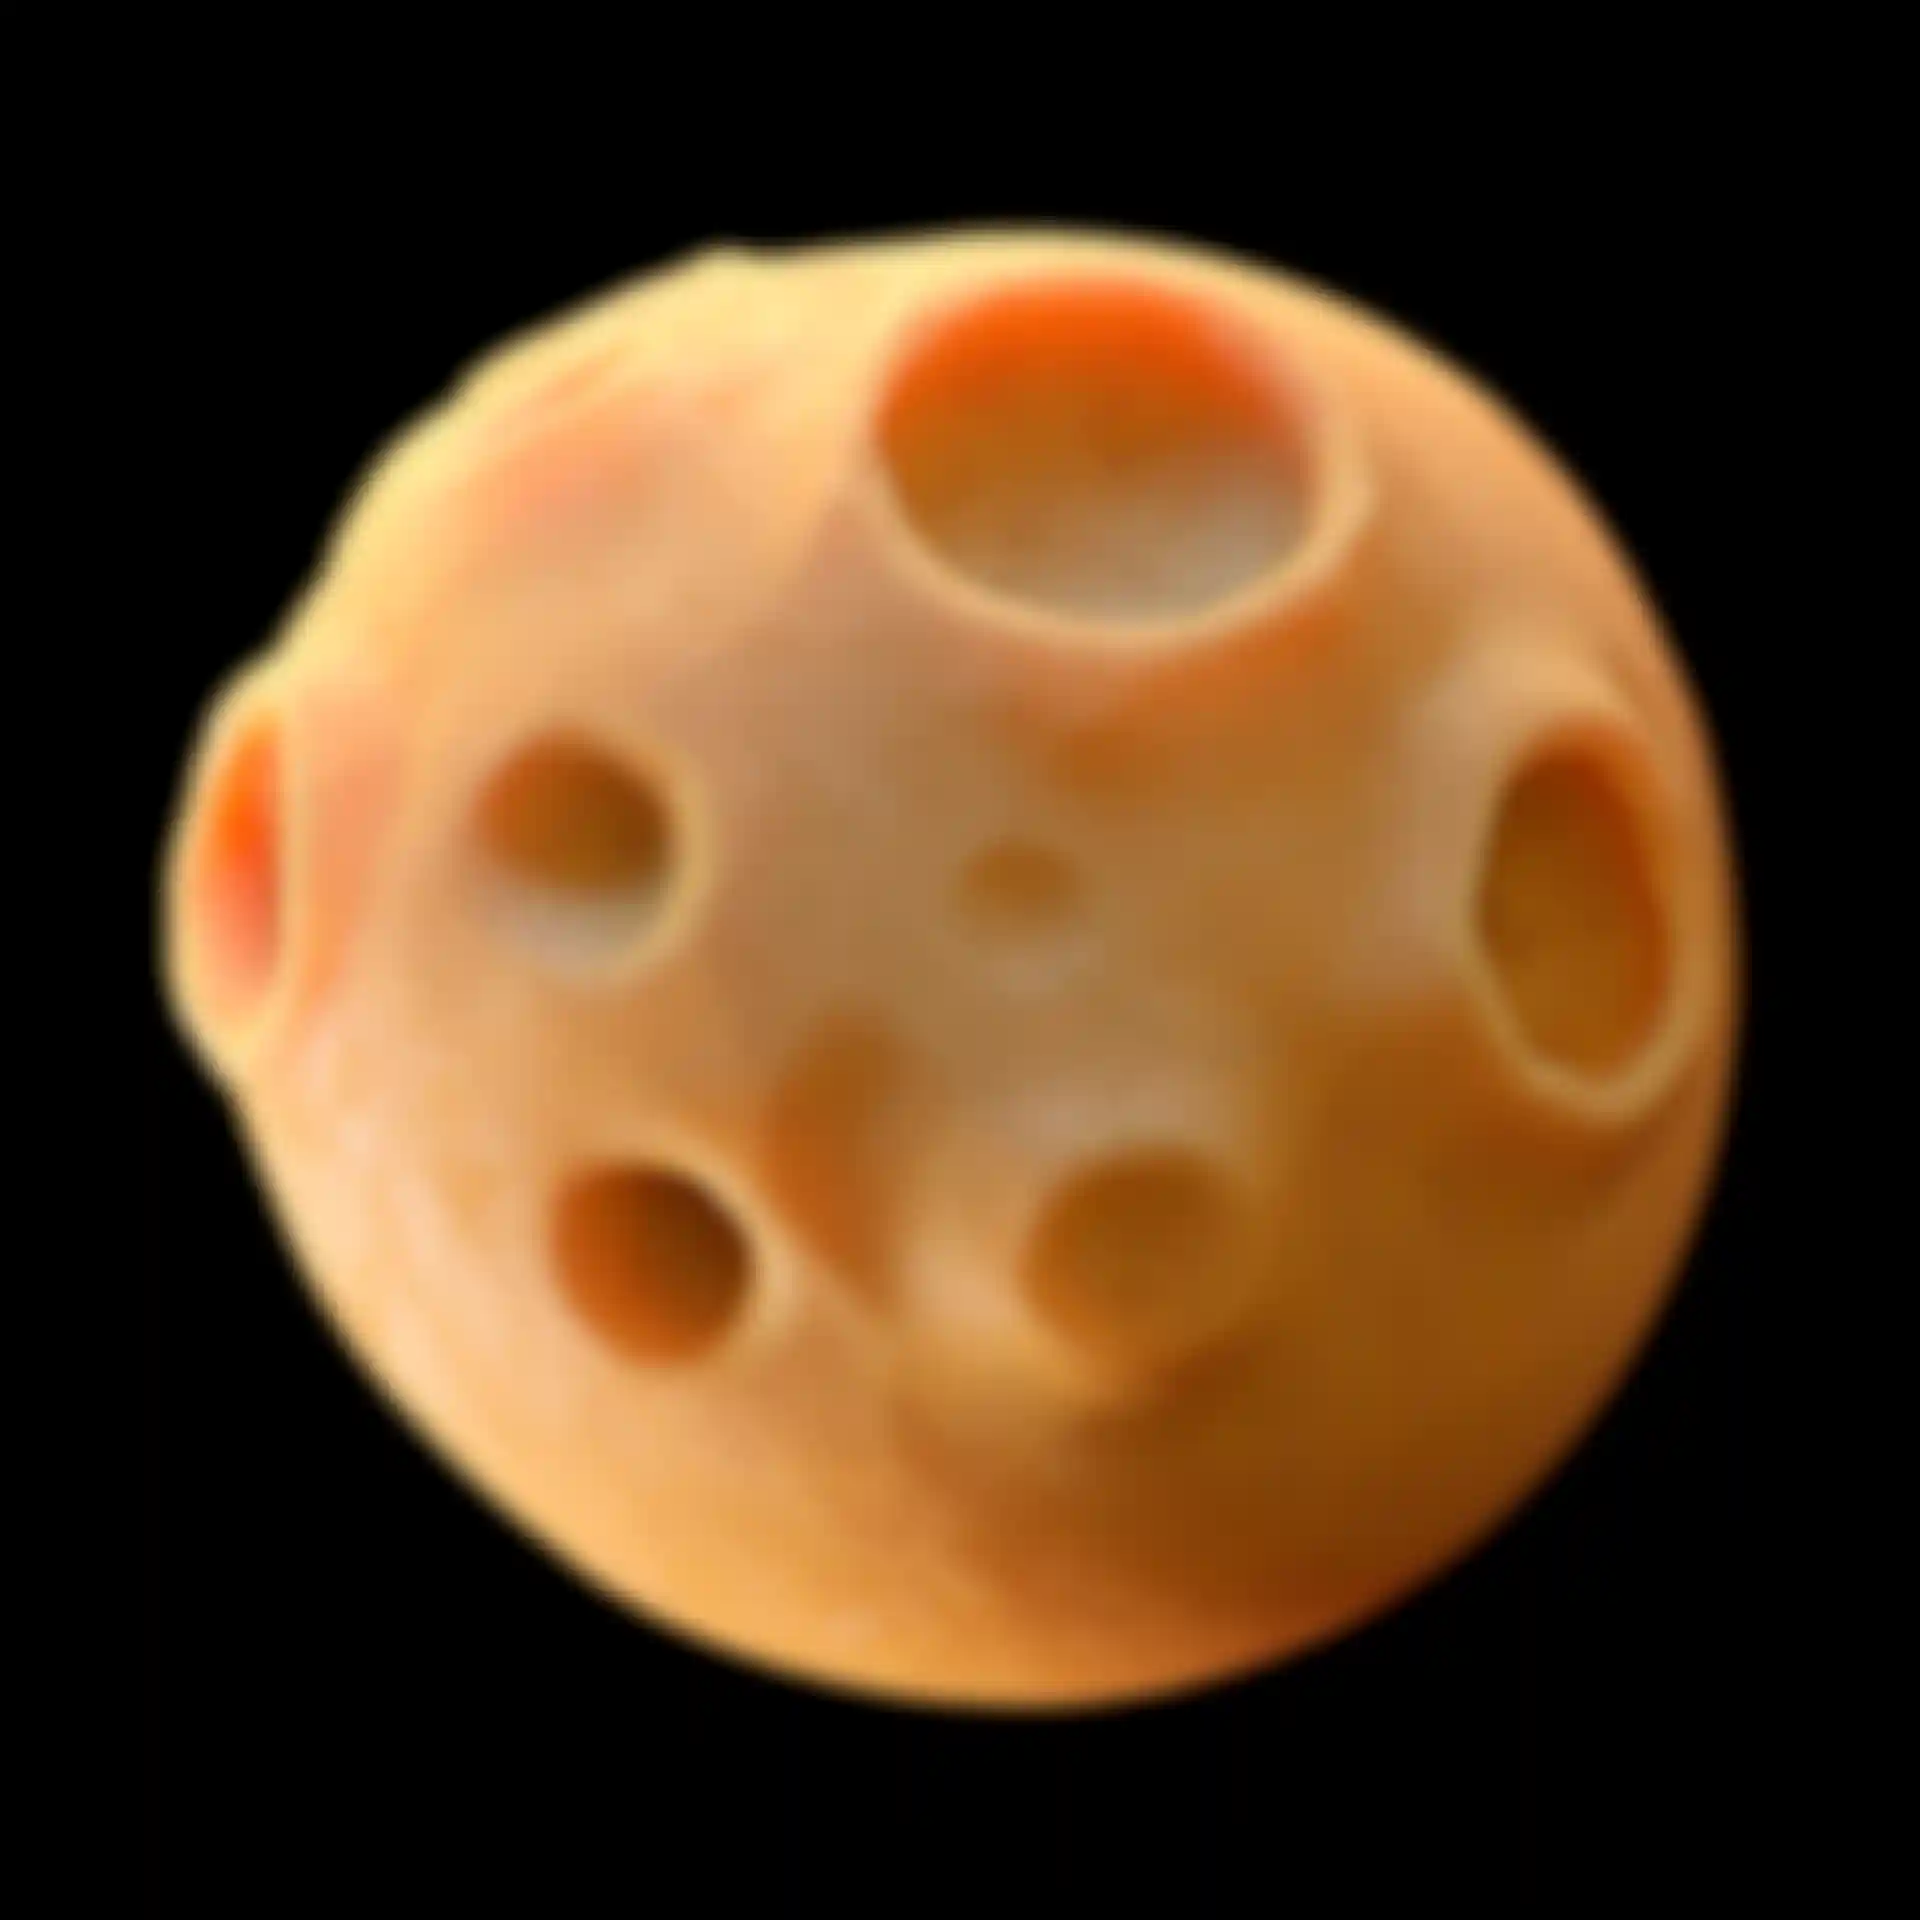
Rodgers: The moon was the first object that I fully developed, and I used it to build and develop the shaders that make up the majority of the scene. It's a relatively simple but interesting shape, which made it perfect for seeing how the shader would act under different conditions. Using some of Redshift’s procedural shading tools, such as ambient occlusion and curvature, I was able to get some really nice color variation across the object based on its shape. The specular and bump details were done procedurally using a fingerprint and scratches map that was plugged into a Redshift Triplanar node.
Play-Doh is quite an interesting material to create. It can be heavy or quite delicate, depending on its size and shape. But Redshift Subsurface Scattering, set to extinction, did a really good job. The moon manages to have a real sense of weight on the thicker areas while still letting a nice amount of light penetrate on the thinner parts of the craters. Being able to work procedurally like this meant that I could make a shader for the moon, get it right, and then apply that to other objects, like the planet, while only changing the diffuse color or map.
Describe how you got the monster to look the way it does.
Rodgers: We wanted a softer look to distinguish the monster from the Play-Doh elements, so we looked for a hair effect that could give it a plush toy texture. We chose the Ornatrix hair, fur and feathers plugin for 3ds Max and it rendered really well with Redshift. We used Substance Painter for the monster’s blue color, which we rendered using Redshift’s Hair Material with some color variation from the random hair color node in combination with a curvature map that allowed us to change the color based on the monster’s cotton ball geometry.

And how did you make the fluffy clouds?
Rodgers: We initially thought of using the Play-Doh style for the clouds but, as we experimented with effects, we liked the way fluffy clouds provided contrast to the Play-Doh world. We purchased a set of VDB clouds, loaded them inside a Redshift Volume Grid, then rendered them separately before comping them into the final image using Photoshop. We really liked how all of the different textures sit together in the scene and reflect the hard and soft edges of Sophie’s imagined world. It helped, too, that Redshift supports popular plugins in 3ds Max, like Forest Pack Pro, which I used to scatter the trees around the scene.
What was this project’s biggest challenge?
Exelby: It took a bit of work to get to a place where we were happy with the lighting, the pose of the monster and the way the Earth was modeled. Getting fine control of the lighting was probably the biggest challenge of the project. We had so many lights in the scene in 3ds Max, and there was so much going on. Objects needed to be lit differently but still fit together as a whole image, and we didn’t want to overly light or flatten the image. We spent a lot of time isolating individual lights behind and around objects to get the sense of depth and halo effects exactly right.

Rodgers: We used Redshift’s Volume Scattering to achieve a halo effect around the Earth and moon. We wanted to really lift them off the page and separate them from the background, so we put a small, spherical light inside the planet and excluded it from interacting with anything in the scene. The environment was filled with a really simple fog setup. Redshift’s lights have some great features for doing that kind of thing. We changed the decay to linear so we could control how the halo faded out, and we tweaked the volume contribution scale to control the intensity. That level of control is what I love about working with Redshift.