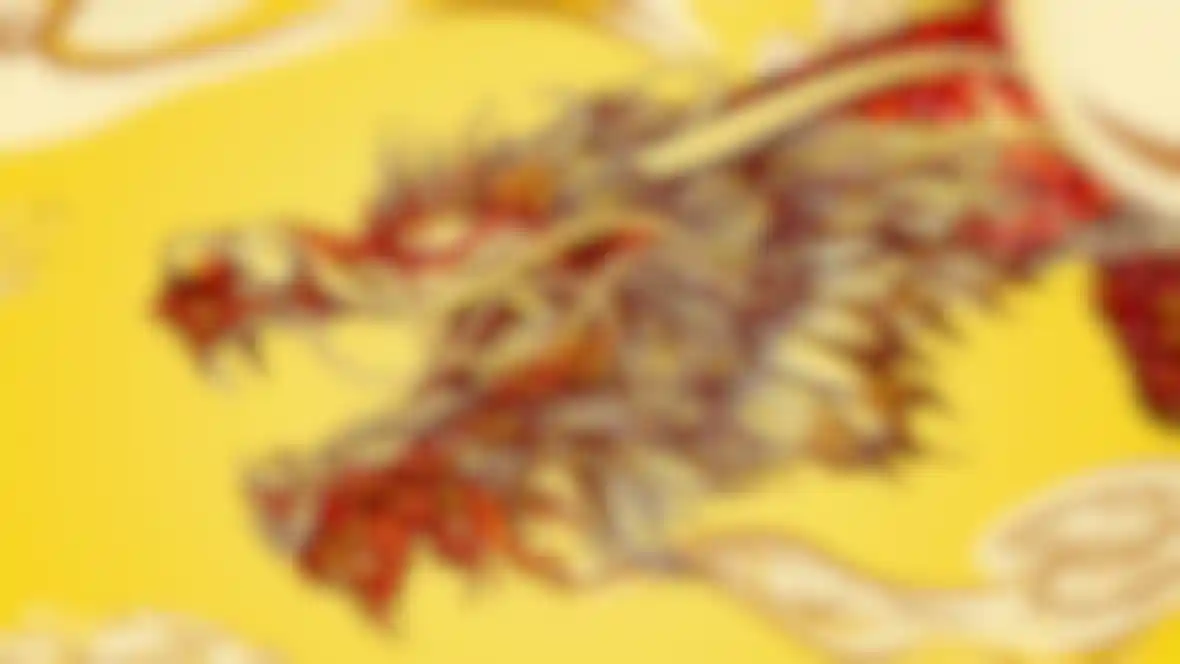
3D Tools for 2D Tricks For the first release of a Chinese version of the Adobe Cloud, the studios Never Sit Still and Luxx used their combined skills to impressively bring an illustrated dragon to life using Cinema 4D.
The animations were based on an illustration created by Adobe's Brian Yap. The images was very detailed and artists Mike Tosetto and Tim Clapham - who were tasked with the realization of the project - quickly realized that converting this design to vectors would not be a simple matter.
Still, the intricate details of the original illustration had to be maintained for the final 20-second animation. First, the illustration was imported into Photoshop and the dragon was broken down into individual elements: "We made separate elements of the dragon's head, claws, body and especially its body and facial hair, which we were then able to import into Cinema 4D. Our approach was to break the body down into multiple elements, project these onto surfaces in Cinema 4D and fill the gaps with clones. This was in theory a good idea but what we ended up with was a body with a jagged, irregular outline - far from being smooth."
Mike and Tim quickly scrapped this approach and took a different path. "We created a smooth, flat body for the dragon using the Puppet Warp Tool, which we then imported into Cinema 4D and projected onto a surface. Since we wanted to animate the surface using the Spline Warp function, we made sure to have enough geometry to work with."
This approach proved to be feasible. An elaborate rig was set up to control this surface and animate the dragon as desired. "We used a clever XPresso solution to connect the splines' control points with Null objects. We were then able to set keyframes for the Null objects to easily control the splines. Wherever this wasn't possible we simply used animations at point level."
Another challenge was presented by the body and facial hairs, which had to have their own dynamic movement to accentuate the dragon's movement and make it even more impressive. "We worked with the Jiggle Deformer. We added vertex maps to the geometry so the ends of the hairs would move more than the base. The closer to the hair base, the more restricted the movement of each hair was. A spline and a Spline Wrap rig were again used to create the actual animation.
Finally, the head, including hair, was added to the body. However, this resulted in the head and hairs were affected by the body's position. We used XRefs to solve this problem. We removed the head and baked the XRef's Jiggle Deformer for each position.
The clouds and the dragon's fire were challenges in and of themselves! The clouds had to reflect the style of those in the illustration. They were created using individual splines that were subsequently combined. Some of the clouds ended up being made of up to 100 splines. To create the effect of active brush strokes, the splines were projected onto polygon surfaces as brush strokes and the shape was created using an alpha map. Each stroke generated numerous copies which were deformed and animated along the splines, thus creating the clouds' unique shapes.
The dragon's flames also had to reflect those in the original illustration. "Here we used a traditional frame-by-frame animation," remembers Mike. "The drawings were created in Adobe Illustrator and imported into Cinema 4D where they were projected on to surfaces and animated in relation to the camera position and other scene elements.
Finally, the scene had to be rendered, which was quickly done using the Standard Renderer due to the project's simple 2D. A depth-of-field pass was rendered for each setting, which we were able to add in the compositing phase for a nice DOF effect."