Tvilum - Take On Me Furniture manufacture Tvilum managed to solve a huge workflow problem, not by throwing money at new software, but by using a feature already built into Cinema 4D…
Denmark-based Tvilum is one of the world's largest manufacturers of flat-packed furniture. The company has four factories producing more than eight million items every year - or some 200,000 pieces every week. Their products are sold globally, but almost every home in Denmark contains a piece of Tvilum furniture!
Naturally it needs to illustrate this vast portfolio of products, but photography is too expensive and time consuming; instead it relies on Cinema 4D to generate photorealistic images - which keeps its marketing department busy. Very busy.
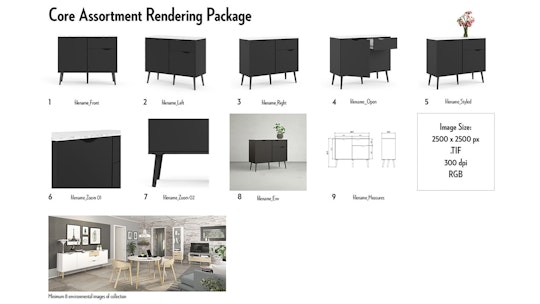
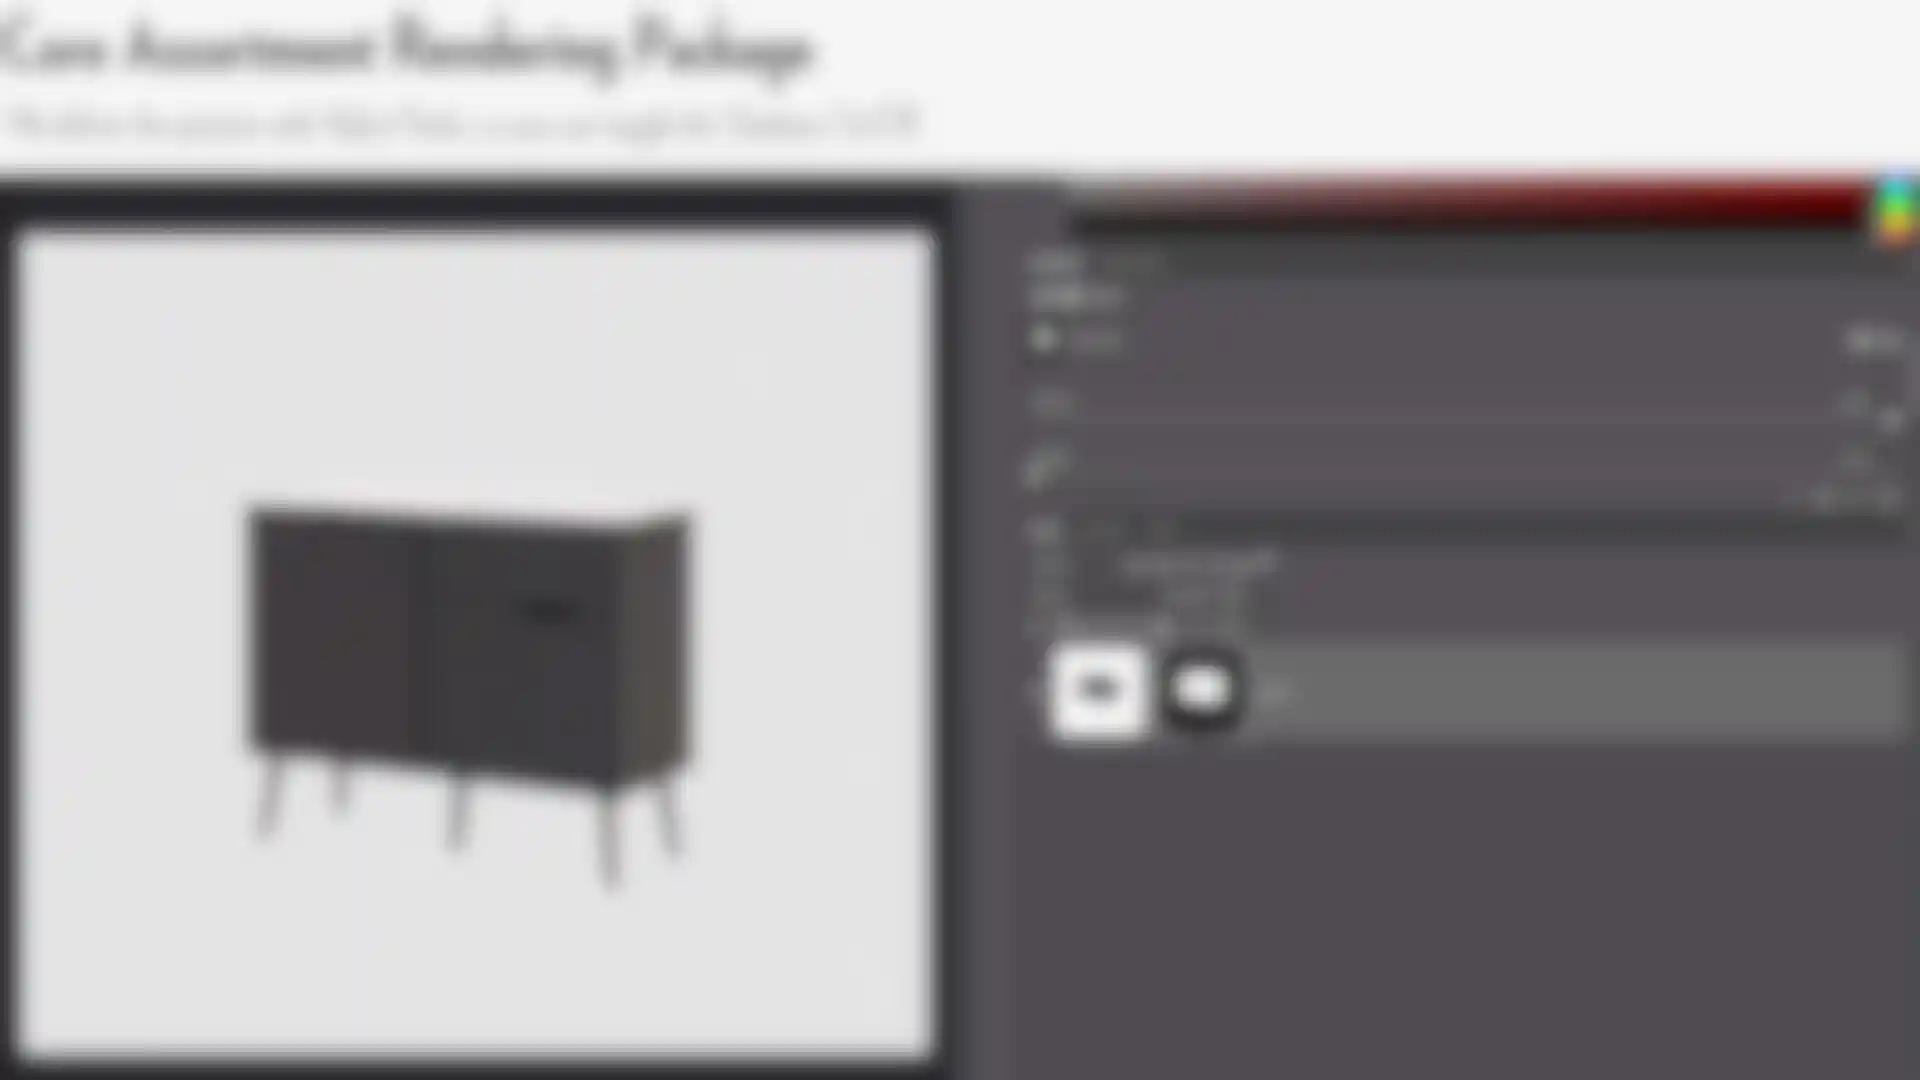
The company has over 1,000 products in its catalogue, and each one requires seven packshots - traditional product images on a white background - plus an environment shot, showing the item in the context of a typical living space. These are then replicated for each colour variation, with as many as four different colours.
Andr Lyager, one of the company's 3D graphic designers, describes the scale of the issue: "We used to spend around one-and-a-half days per colour, including the simple environment shot. That would mean that we had to render for almost 18 months to complete the roughly 8,000 pictures!"
The demand for high-quality rendered images, both for Tvilum's own website and an image bank for its customers, was putting a great strain on the artists. "We had tried many different ways to speed up our workflow, says Lyager. "We tried to animate the rotation of our products, we tried with the Stage Object and so on, but we wouldn't save any time on it, because we had to sit and rename every single image - which is also a dull process."
Aware of the problem, Tvilum's engineering department reached out to marketing to see if they could collaborate and find a way of fine-tuning the process. They looked at new, external software packages but eventually settled on optimising and automating the existing workflow using Cinema 4D's built-in Take system.
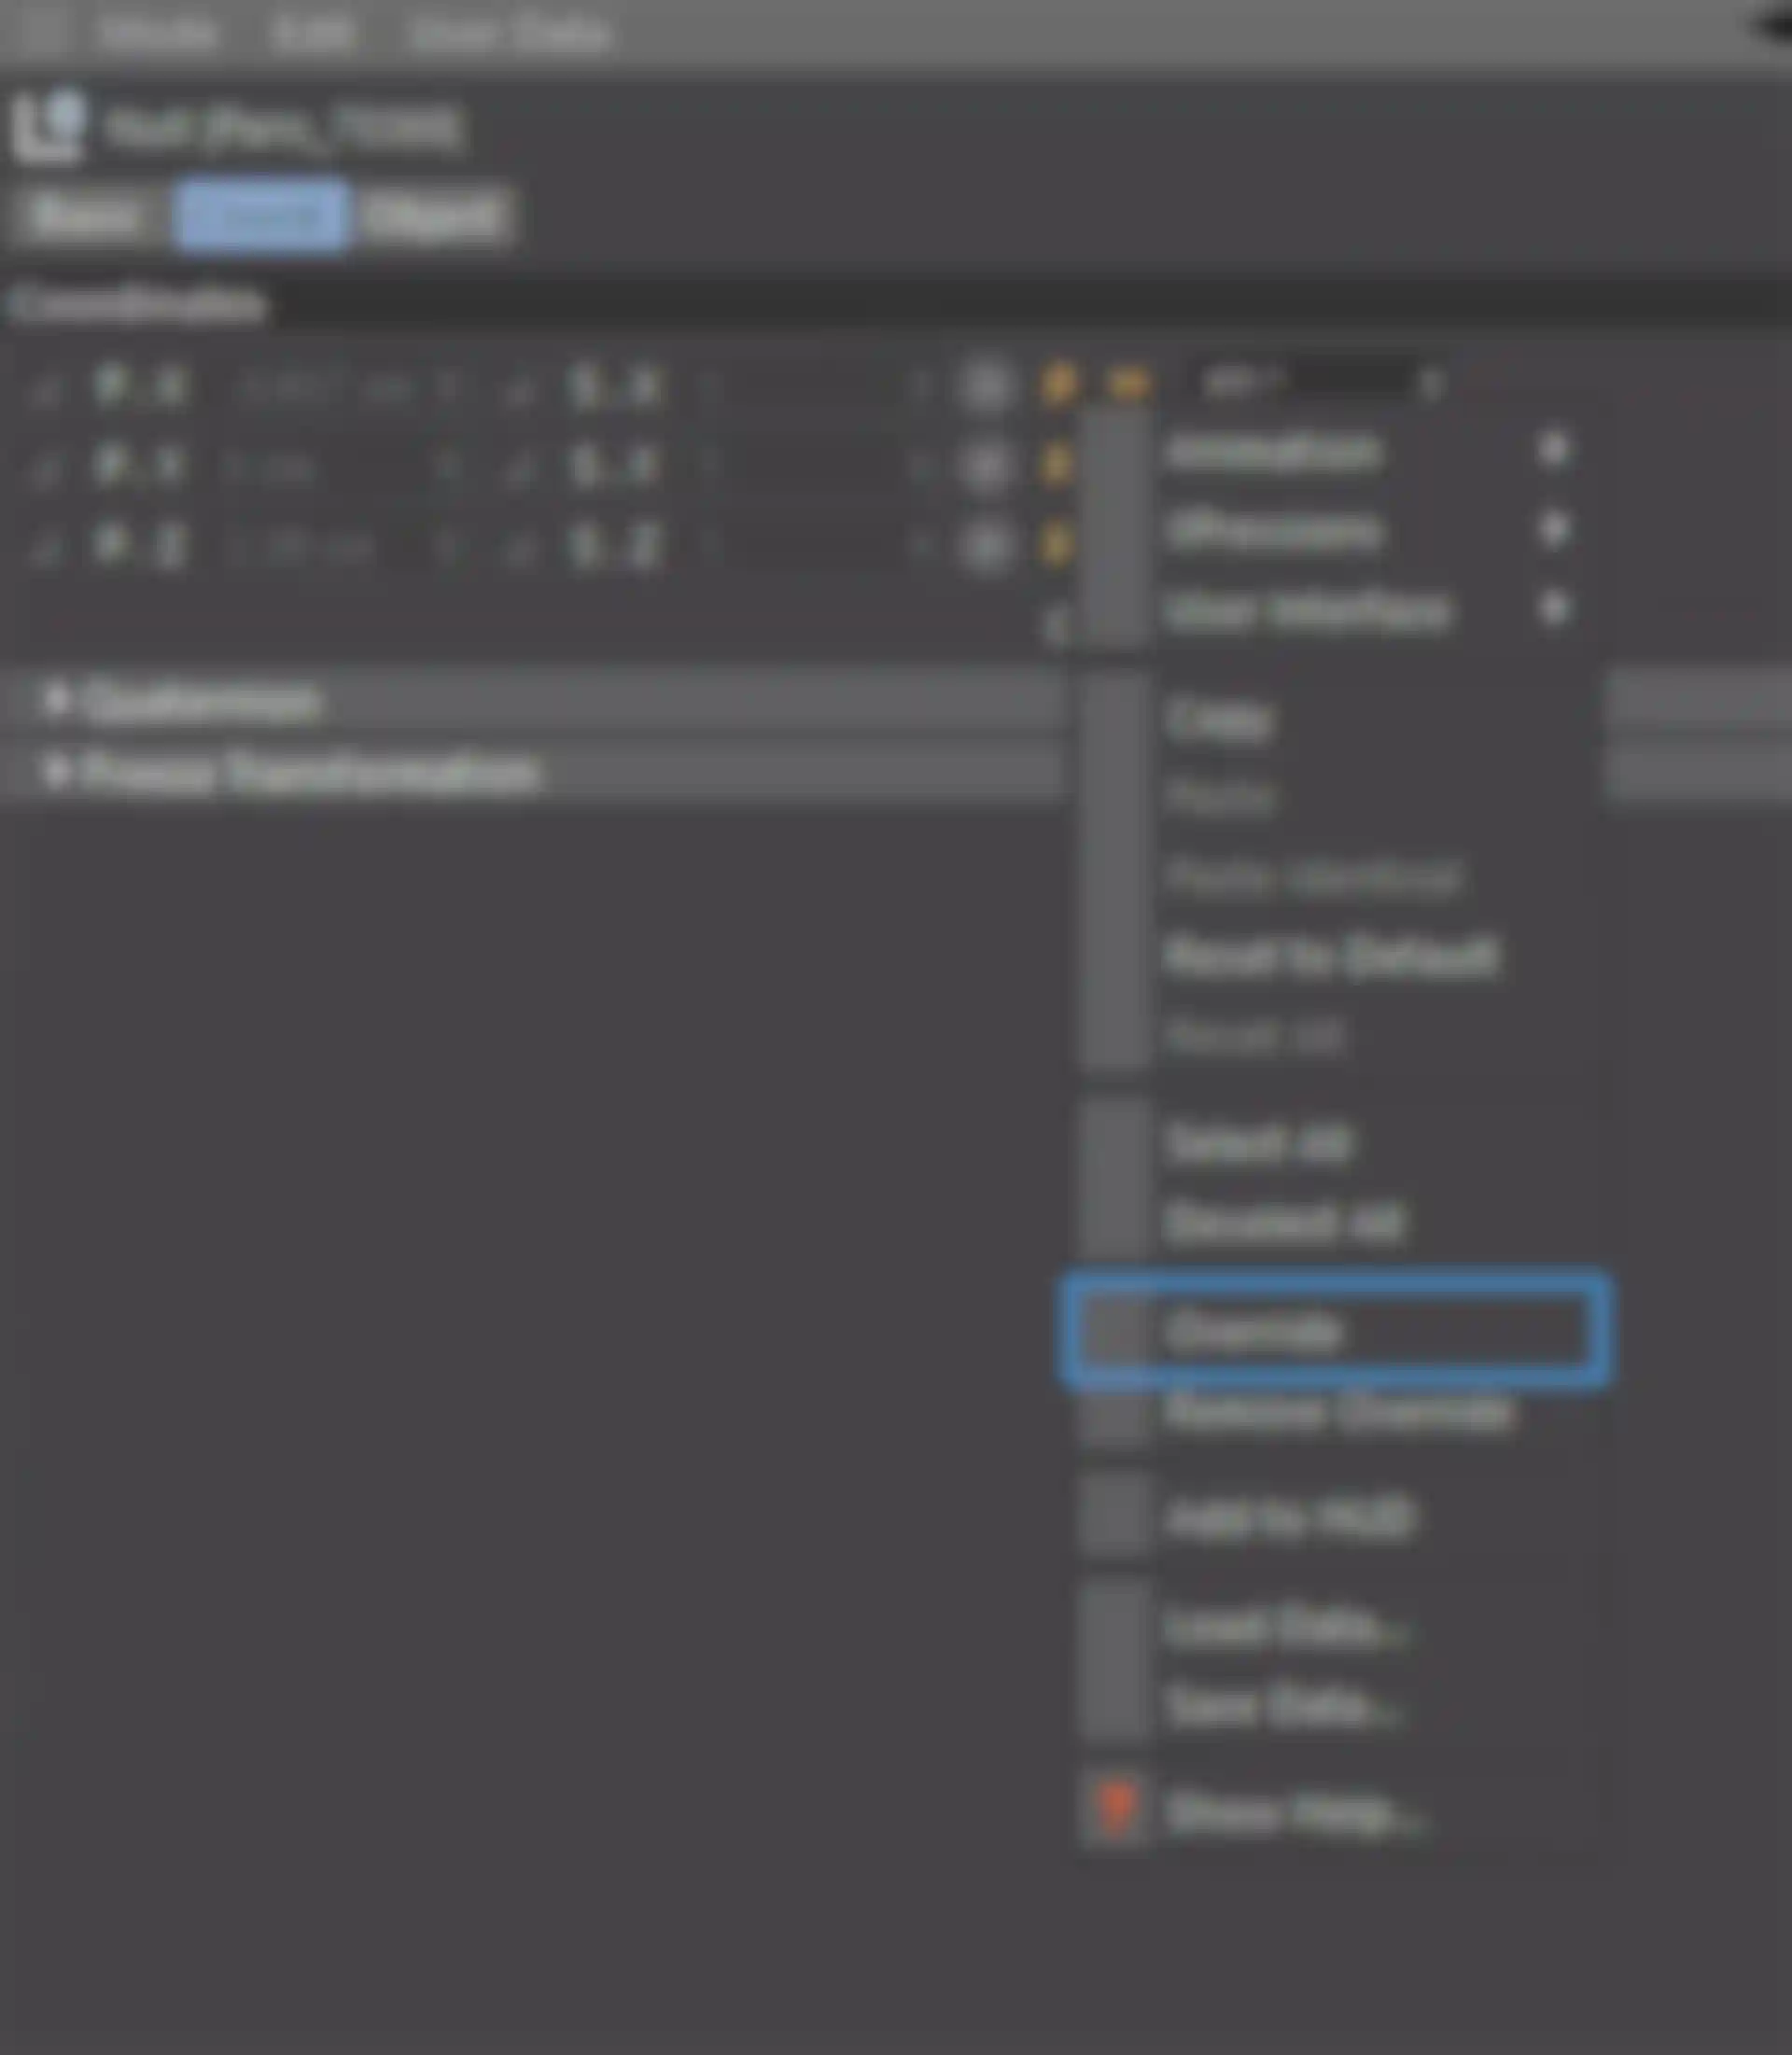
Introduced in Cinema 4D R17, the Take system enables you to store multiple variations of your scene within a single file. This includes animation, different camera angles, colour and material variations, object visibility and render passes. It also works in conjunction with Tokens, which helps with the automatic naming of files.
The optimisation process began with the 3D models, which are created in Dassault Systèmes' SolidWorks. Initially the artists were given .IGS files, but these weren't always suitable. "We tested out the many different file formats SolidWorks can export to," says Lyager, "and found that .WRML was what worked the best for us. It would open super-fast in Cinema 4D, and have almost perfect geometry every time, where the .IGS format would be very slow and full of errors, which we then had to spend time on re-modelling before we could start to texture and set up the scenes."
"Now, we have a Take System scene setup, where we get all colours, all packshots and the simple environment - in one scene! Our website and image bank for our customers are dependent on our filenames being correct every time, and with Tokens, we got the correct file naming straight out of Cinema 4D, so we don't have to rename every single image."

He adds that the Take System is also very simple to use: "You set up your scene as normal, and add a new Take. For every change you want to render out, you only have to Overwrite the changes* and add it to a Take, and that's it. It's really easy to use and hassle-free!"
It's estimated that the workflow improvements have boosted the delivery of rendered images by as much as 300%. "We used to spend one-and-half-days for seven pictures," confirms Lyager. "Just last week I made 39 packages, which equals 273 pictures!"
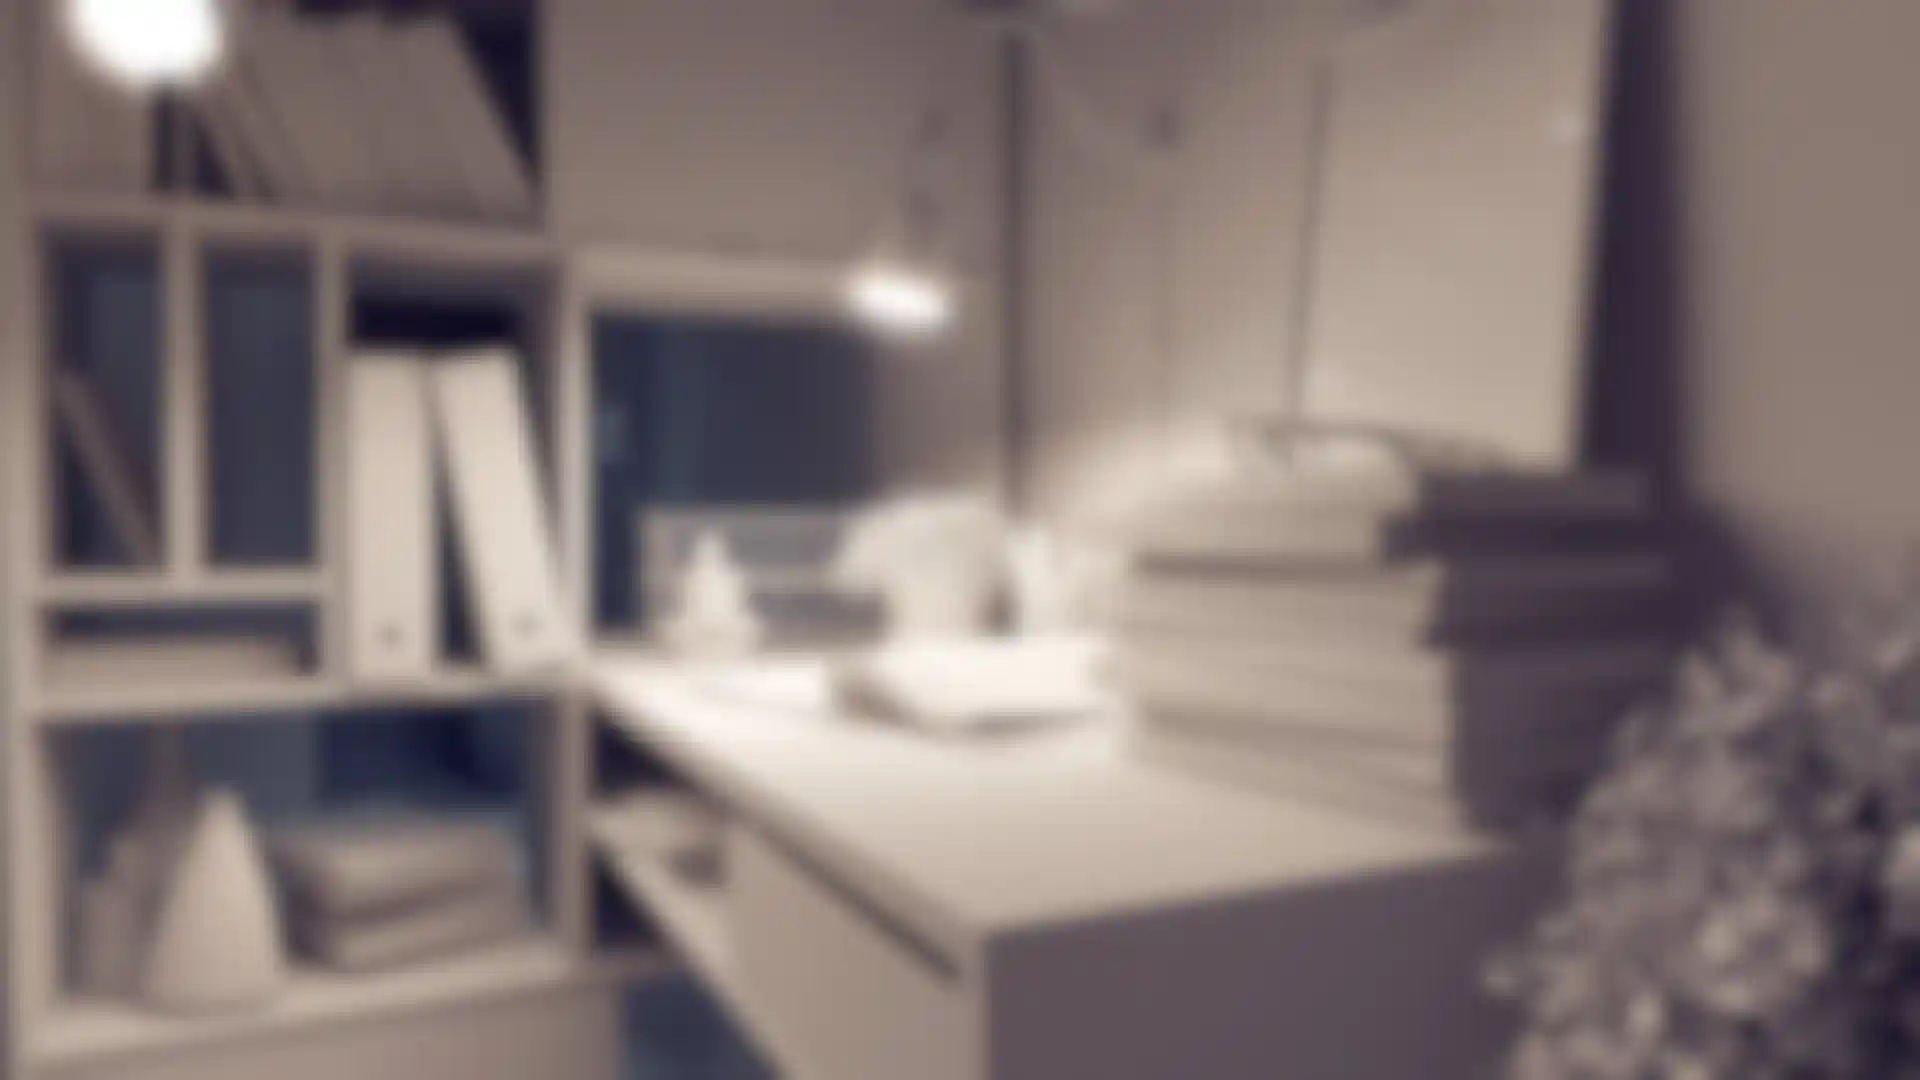
The rendering process might have been accelerated, but the end results are still just as gorgeous - especially the environment shots, which are beautifully lit and totally believable.
"I used to only work with HDRIs," says Lyager, "but I found that Area Lights from outside the windows is way faster and generate less noise in the shadow areas. I can then add a Sun to the scene and exclude the Area Lights from it, then up the size multiplier to around 4, so I get a nice softer light through the windows. But it all depends on the type of environment: if it's a small hallway or a huge office space, I will light the scene differently."
IES (Illuminating Engineering Society) lights are also employed when they need to cast lamp light to look genuine. These photometric profiles are widely available on the Internet and you'll also find some in Cinema 4D's content browser. You simply create a light source, make it an IES Light and apply the IES profile in the Photometric tab.
Lyager has this advice when using them: "I think the right way is to calibrate your camera to the default Sun. That way the IES light will be exposed correctly. I always tint them a bit, so they appear warmer than the exterior light. There's a big difference between the different IES lights, so I tend to use those I know how they behave. Also I use the Clay Render/Overwrite material when working with IES. That way I can be sure that the exposure is correct."
Exterior views are just photos mapped to a plane, and to speed things up they also use libraries of pre-made models - mainly room decorations - some bought but most built and then re-used. "It saves a bunch of time when we use our own .lib files," admits Lyager, "It's a very good investment to spend the time setting them up, and then drag 'n' drop them into your scene."
"The textures on our products comes from our supplier, "he adds. "They're quite large so they look great, even when the camera is close to the object.
Walls, floors etc. are bought textures, which we make imperfect with random scratches and dirt maps. As for now, our texture folder is about 33GB - containing 9,787 files."
Lyager explains that for the packshots, they simply desaturate the shadows and make a layer mask of the object, so their customers can turn the shadows on and off*. "Otherwise we just make sure that the Levels are correct."
As if generating thousands of static images wasn't enough, the team also creates 360-degree 'tours' that you can navigate via the website. These aren't necessarily more difficult, comments Lyager, just more time consuming: "Every detail becomes visible, so you have to make sure that every object is placed correctly and that the camera is at the right height. But I really enjoy making them, and then see the final result in VR."
For final output, the team uses Chaos Group's venerable V-Ray renderer. "V-Ray is a strong and powerful engine for photorealistic renders," declares Lyager. "It's easy, fast, fun and can use both the CPU and the GPU. We have played around with other engines, such as Corona and Cinema 4D's own Physical render, but for us, V-Ray wins in the long run - also our systems have way more CPU power than GPU power."
But no matter what tools you use, Lyager says it's all about the lighting and textures. "Always use a photographer's approach," he advises. "It's not the camera, it's the light. And in 3D it all comes down to good textures and lighting."
All images courtesy of Tvilum.
Tvilum website: www.tvilum.com/